The Bunker Hill Security Camera System offers reliable monitoring solutions with easy setup and advanced features like night vision and mobile access․ Contact technical support at 1-888-866-5797 for assistance․
1․1 Key Features and Benefits
The Bunker Hill Security Camera System provides reliable surveillance with features like night vision, motion detection, and HD resolution․ It supports mobile monitoring, allowing remote access to live and recorded footage․ Weather-resistant cameras ensure durability in various conditions․ The system is expandable, accommodating additional cameras for comprehensive coverage․ Motion detection alerts enhance security, while privacy zones help protect sensitive areas․ With user-friendly controls and robust connectivity options, this system offers flexibility and peace of mind for home or business security needs․
1․2 System Components and Compatibility
The Bunker Hill Security Camera System includes a DVR, weather-resistant cameras, power adapters, and cables․ It supports up to 8 channels, with cameras featuring night vision and motion detection․ The system is compatible with HDMI, VGA, and BNC connections, ensuring versatility․ Mobile monitoring is enabled through network connectivity․ Additional cameras can be added for expanded coverage․ The DVR supports hard drive storage for recording footage, with USB ports for backup․ The system is designed for both indoor and outdoor use, offering adaptability to various security needs․
Safety Information and Precautions
Ensure the system is properly grounded to avoid electric shock․ Avoid pointing cameras through windows to prevent glare․ Route cables safely to minimize tripping hazards․ Use only the provided power adapters and follow installation guidelines carefully․ Regularly inspect the system for damage or wear․ Keep the manual for future reference and adhere to all safety warnings to ensure safe operation․
2․1 Safety Warnings and Guidelines
Read all safety warnings carefully before installation․ Ensure the system is properly grounded to prevent electric shock․ Avoid pointing cameras through windows, as this may cause glare․ Route cables securely to minimize tripping hazards․ Use only the provided power adapters to avoid damage․ Regularly inspect the system for damage or wear․ Keep the manual for future reference and follow all guidelines to ensure safe operation․ Always adhere to local surveillance laws and regulations․
2․2 Proper Handling and Installation Precautions
Handle all components with care to avoid damage․ Plan camera placement carefully, ensuring cables are routed safely to prevent tripping․ Avoid overhanging objects that could obstruct the view․ Use the provided mounting hardware and anchors for secure installation․ Keep cables away from heat sources or flammable materials․ Do not submerge cameras in water unless specified as weather-resistant․ Ensure the system is properly grounded to prevent electrical issues․ Follow all local surveillance laws and consult the manual for specific installation guidelines․

Technical Specifications
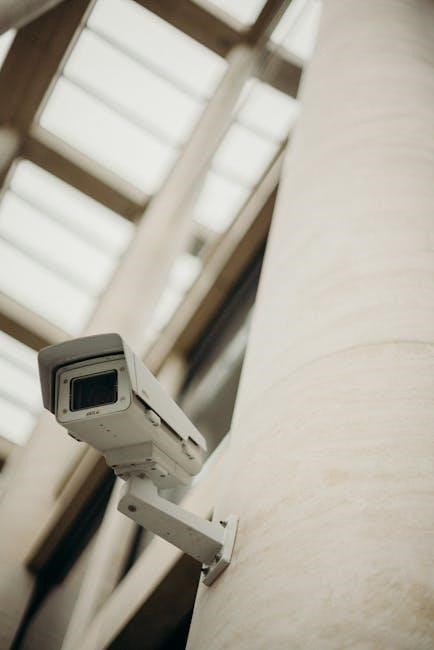
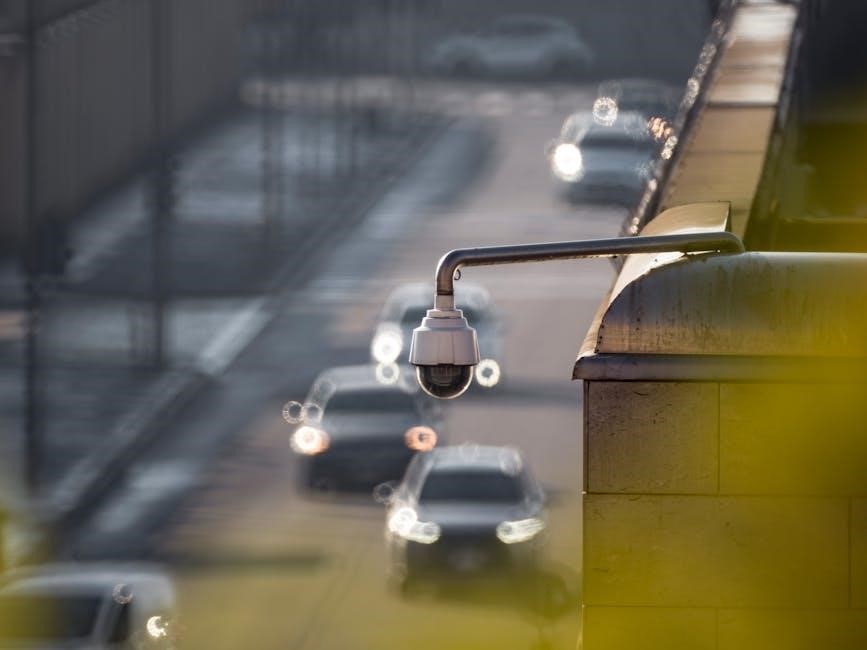
The Bunker Hill Security Camera System features a DVR with HDMI output and support for up to 8 channels․ Cameras offer 300×380 TVL resolution, night vision up to 80 feet, and weather-resistant designs for outdoor use․
3․1 Camera Resolution and Night Vision Capabilities
The Bunker Hill Security Cameras deliver clear video with a resolution of 300×380 TV lines, ensuring sharp imagery for surveillance needs․ Equipped with infrared LEDs, they provide night vision up to 80 feet, capturing detailed footage even in low-light conditions․ The cameras are designed for both indoor and outdoor use, featuring weather-resistant housings to withstand harsh environments․ This combination of high-resolution imaging and reliable night vision ensures comprehensive monitoring and peace of mind for users․
3․2 DVR Specifications and Connectivity Options
The Bunker Hill Security DVR supports up to 8 channels, allowing connection to multiple cameras․ It features HDMI, VGA, and BNC video outputs for flexible monitoring options․ With an RJ45 Ethernet port, the DVR enables network connectivity for remote access․ USB 2․0 ports support external storage devices, while motion detection and recording schedules enhance security․ The system includes 60-foot cables and 12VDC power adapters, ensuring reliable setup and operation․ Mobile monitoring capabilities provide added convenience for users․
Installation and Setup
Plan camera locations carefully, ensuring proper cable lengths and visibility․ Mount cameras securely, connect cables to the DVR, and power on the system․ Ensure all connections are tight and avoid tripping hazards․ Refer to the manual for detailed steps and safety precautions․ Contact technical support at 1-888-866-5797 for assistance if needed․
4․1 Mounting the Cameras and Connecting Cables
Plan camera locations carefully, ensuring proper visibility and cable length․ Mount cameras securely using provided hardware, avoiding window glare․ Route cables safely to prevent tripping hazards․ Connect camera cables to the DVR, ensuring tight, secure connections․ Power on the system and test all cameras for proper functioning․ Refer to the manual for detailed diagrams and setup instructions․ Ensure all connections are grounded for safety․ Contact technical support at 1-888-866-5797 if issues arise․
4․2 Initializing the DVR and Syncing Cameras
To initialize the DVR, connect it to a monitor and power it on․ The system will boot up and display the start-up screen․ Ensure all cameras are connected to the DVR using the provided cables․ If cameras are not automatically recognized, manually sync them through the DVR’s menu․ Right-click on the screen, navigate to the “Sync” or “Pair” option, and follow on-screen instructions․ Once synced, test live view to confirm all cameras are functioning properly․ Contact technical support at 1-888-866-5797 for any synchronization issues․

Operating the DVR
The DVR allows you to monitor live footage, playback recordings, and navigate through menus․ Use the mouse or remote to access features like recording schedules, motion detection, and PTZ controls․ For technical support, call 1-888-866-5797․
5․1 Navigating the DVR Interface
Navigating the DVR interface is straightforward, with menus accessible via mouse or remote․ The main menu includes options for live view, playback, and system settings․ Users can customize recording schedules, motion detection, and privacy zones․ The interface also provides access to advanced features like PTZ controls and network configuration․ For troubleshooting, press and hold the REW button if buttons stop responding; Refer to the manual for detailed guidance on utilizing all features effectively․

5․2 Accessing Live View and Recorded Footage
To access live view, double-click on a camera feed to view it in full screen․ For recorded footage, navigate to the playback menu and select the desired date and time․ Use the event search feature to quickly locate specific recordings․ The playback bar allows you to pause, rewind, and zoom in on video segments․ Logs are maintained for all recording activities, ensuring easy tracking of system usage and footage management․
Advanced Settings and Customization
Advanced settings allow users to customize motion detection, privacy zones, and recording schedules․ The DVR also supports email notifications and PTZ camera controls for enhanced monitoring․

6․1 Motion Detection and Recording Schedules

The DVR allows you to set motion detection and recording schedules for automated surveillance․ Use the Pop-Up Menu to enable motion-only recording or schedule continuous recording․ To stop recording manually, press the STOP button on the DVR or remote․ Customizable motion sensitivity intervals ensure accurate alerts․ Recording schedules can be programmed for specific times, optimizing storage․ Ensure the DVR restarts after saving changes to apply settings properly․ This feature enhances security by capturing only relevant footage, reducing storage needs․
6․2 Privacy Zones and Advanced Menu Options
The system supports privacy zones, allowing you to mask sensitive areas from video feeds․ Access these settings through the Advanced Menu, where you can enable or disable privacy zones․ Additional options include PTZ camera controls, network configuration, and notification settings․ The advanced menu also provides features like email notifications and cloud storage integration․ Use these settings to customize your surveillance experience and ensure compliance with privacy standards․ Adjustments require saving changes and may prompt a DVR restart for proper implementation․
Maintenance and Troubleshooting
Regularly clean the camera lenses and inspect cables for damage․ For issues, restart the DVR or check connections․ Refer to the manual for detailed troubleshooting guides․
7․1 Cleaning andInspecting the System
7․1 Cleaning and Inspecting the System
Regularly clean the camera lenses with a soft cloth to ensure clear visibility․ Avoid using harsh chemicals or solutions directly on the lens․ Inspect all cables for damage or wear and replace them if necessary․ Check the DVR for proper cooling and ensure it is placed in a well-ventilated, dry area․ Maintain the surrounding environment by trimming bushes or obstructions that may block camera views․ Refer to the manual for detailed cleaning and inspection procedures to maintain optimal performance․
7․2 Common Issues and Solutions
Address common issues like poor image quality by ensuring cameras are clean and properly angled․ For connectivity problems, check all cables and connections․ If the DVR malfunctions, restart it or reset by holding the REW button until it beeps․ For motion detection errors, adjust sensitivity settings in the menu․ Consult the manual for troubleshooting steps or contact technical support at 1-888-866-5797 for further assistance․ Regular system checks can prevent such issues and ensure reliable performance․
The Bunker Hill Security Camera System manual provides comprehensive guidance for installation, operation, and troubleshooting․ For further assistance, visit the official website or contact technical support at productsupportharborfreight․com․
8․1 Final Tips for Optimal Performance
For optimal performance, regularly clean the camera lenses and ensure cables are securely connected․ Update the DVR software periodically for enhanced functionality․ Position cameras to avoid glare and ensure clear visibility․ Maintain a stable power supply and avoid using extension cords․ Keep the system firmware updated and refer to the manual for troubleshooting common issues․ For technical support, contact 1-888-866-5797 or visit www;harborfreight․com․
8․2 Contact Information for Technical Support
For technical assistance, contact Bunker Hill Security support at 1-888-866-5797․ Email inquiries can be directed to productsupportharborfreight․com․ Visit their official website at www․harborfreight․com for additional resources and support materials․ Ensure to have your product serial number or purchase details ready for efficient assistance․ This service is available to address any questions or issues regarding your security camera system․