Discover detailed Roubo workbench plans in PDF format, offering step-by-step guides, materials lists, and historical insights. Perfect for DIY enthusiasts and professionals, these plans ensure a sturdy, functional workbench.
The Roubo workbench, inspired by André Jacob Roubo’s 18th-century design, is a timeless choice for woodworkers seeking durability and functionality. Its classic design, featuring a robust frame and split-top construction, has made it a favorite among professionals and enthusiasts alike. The Roubo workbench plans offer a detailed guide to constructing this iconic piece, emphasizing traditional joinery techniques and high-quality materials. Perfect for those who value both form and function, these plans provide a clear pathway to building a workbench that will last a lifetime. Whether you’re a seasoned craftsman or a DIY beginner, the Roubo workbench plans are an excellent starting point for creating a workspace tailored to your needs.
History and Evolution of the Roubo Workbench Design
The Roubo workbench design traces its origins to 18th-century France, conceptualized by André Jacob Roubo in his treatise L’Art du Menuisier. Roubo, a renowned carpenter, aimed to create a workbench that combined strength, versatility, and practicality. His design emphasized a thick, solid top and a robust base, allowing for various clamping and workholding methods. Over time, the Roubo design has been adapted and refined, incorporating modern materials and techniques while retaining its original essence. Today, it remains a cornerstone of woodworking, celebrated for its durability and functionality. The evolution of the Roubo workbench reflects the enduring appeal of traditional craftsmanship in contemporary woodworking practices.
Benefits of Using Roubo Workbench Plans
Using Roubo workbench plans offers numerous advantages for woodworkers. The design provides exceptional strength and stability, ensuring a solid foundation for various woodworking tasks. Its thick, rigid top and robust base allow for efficient clamping and workholding, making it ideal for planing, joining, and other operations. The Roubo design supports work in multiple positions—faces, edges, and ends—enhancing versatility. Additionally, the plans are detailed and easy to follow, making the construction process accessible even for those with moderate woodworking skills. The workbench’s durability ensures long-term performance, while its timeless design appeals to both professionals and hobbyists. By following Roubo workbench plans, woodworkers can create a reliable and functional workspace that elevates their craftsmanship and productivity.
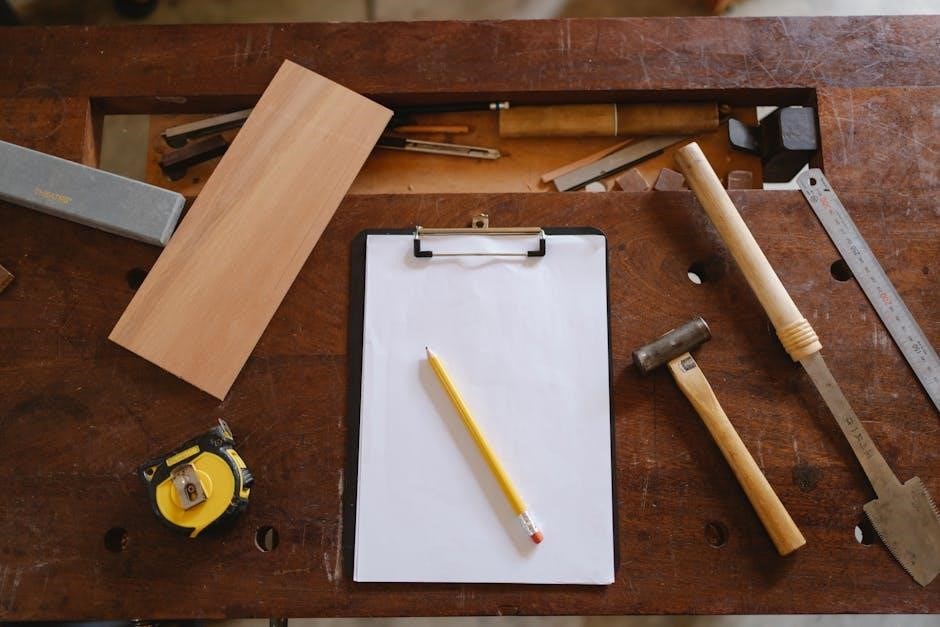
Materials and Tools Needed
Constructing a Roubo workbench requires high-quality lumber, such as thick planks or 2×10 boards, along with essential tools like saws, drills, and clamps for precise assembly.
Essential Materials for Constructing a Roubo Workbench
To build a Roubo workbench, you’ll need durable materials that can withstand heavy use. The primary material is thick hardwood planks or dimensional lumber, such as 2×10 boards, which provide the necessary strength and stability. Eight 12-foot-long 2x10s are typically sufficient, costing around $100, depending on your location. Additionally, wood glue is essential for bonding the boards together to form the top and shelves. For finishing, you’ll need sandpaper, wood sealers, or oils to protect the surface. Hardware like bolts, screws, and vise attachments are also required for assembly and functionality.
Optional enhancements include metal brackets or reinforced joints for added durability. Ensure all materials are properly dried to prevent warping and cracking over time. The total cost, including hardware and finishes, typically ranges from $500 to $700, depending on your choices.
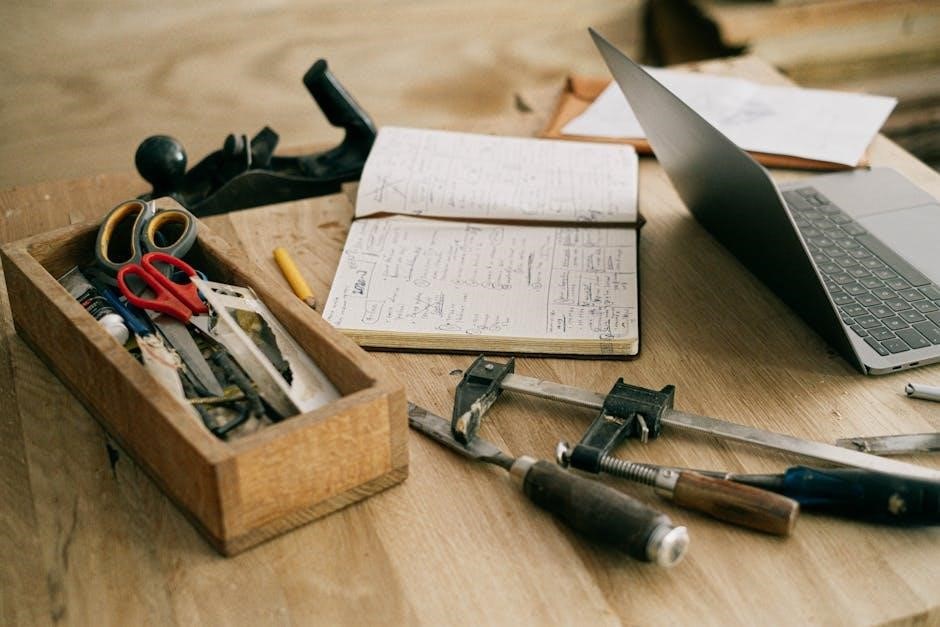
Tools Required for Building the Workbench
Building a Roubo workbench requires a combination of power and hand tools for precise cuts and strong joints. Essential tools include a table saw or circular saw for cutting lumber to size, a miter saw for accurate angled cuts, and a drill press for drilling holes for bolts and dowels. Hand tools like chisels, hand saws, and planes are crucial for fine-tuning joints and smoothing surfaces. A clamps set is necessary for gluing and clamping the top and shelves. A tape measure and square ensure accuracy in measurements and alignment. For drawbored mortise and tenon joints, a marking gauge and auger bits are helpful. Sandpaper and a router can be used for finishing touches. If available, a domino tool simplifies joint assembly, though traditional methods work well without it. SketchUp or similar software can aid in visualizing and planning the design.

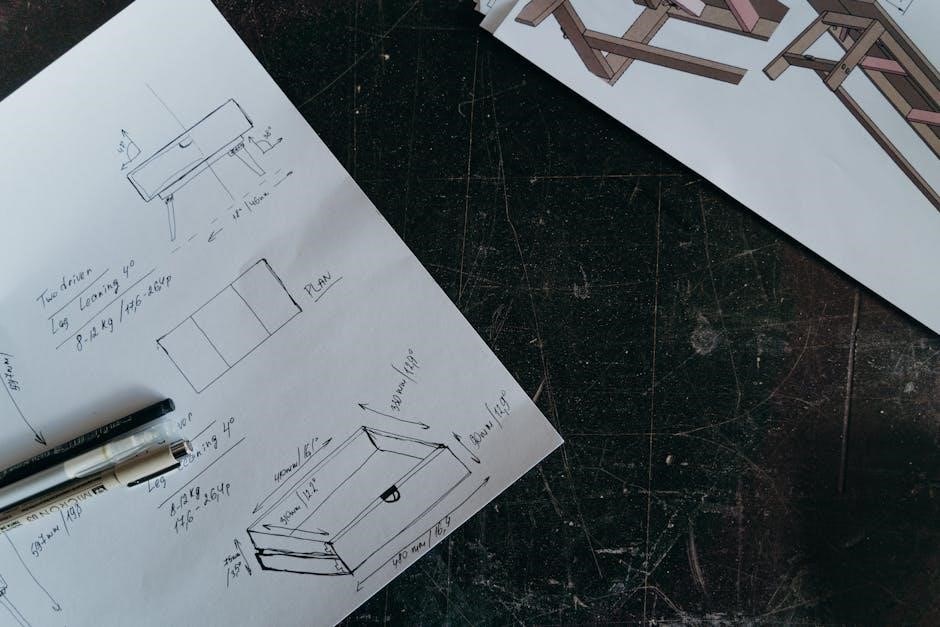
Design and Planning
The Roubo workbench design emphasizes functionality and durability, with a classic layout that accommodates various woodworking tasks. Dimensions and materials are carefully planned for optimal performance and space efficiency.
Design Considerations for Your Roubo Workbench
When designing your Roubo workbench, consider the split-top configuration for clamping versatility and easier planing. Ensure the bench height aligns with your ergonomic needs, typically between 33-36 inches, to prevent fatigue during long work sessions. The width should accommodate your workspace while providing ample surface area for large projects. Incorporate traditional joinery like drawbored mortise and tenon joints for durability. Choose hardwoods such as ash, maple, or beech for strength and longevity. Consider adding a tool tray and storage compartments for organization. Plan for vise placement, such as a front vise for edge work and a tail vise for precise clamping. Finally, ensure the design balances aesthetics with functionality, making it a centerpiece of your workshop. Proper planning will result in a workbench that meets your specific needs and enhances your woodworking experience.
Space Planning and Workbench Dimensions
Proper space planning is essential for your Roubo workbench to ensure it fits seamlessly into your workshop. Standard dimensions for a Roubo workbench are typically 27 inches wide, 72.5 inches long, and 33 inches high, but these can be adjusted to suit your space. Consider the length of your workspace and leave at least 36 inches of clearance around the bench for comfortable working. If space is limited, you can opt for a hybrid design, such as the Roubo-Nicholson workbench, which may have slightly different proportions. Measure your workshop carefully and tailor the dimensions to your needs without compromising the bench’s functionality. The height should also be ergonomic, ensuring it aligns with your body to prevent fatigue. Plan thoughtfully to maximize efficiency and comfort in your woodworking environment.
Construction Process
The construction process involves assembling the Roubo workbench components, starting with the base and progressing to the top. Follow detailed PDF plans for accuracy and ease.
Step-by-Step Guide to Building the Workbench
Begin by selecting and preparing your materials, ensuring all components are cut to the specified dimensions. Start with the base, assembling the legs and stretchers using drawbored mortise and tenon joints for maximum strength. Next, construct the workbench top by gluing the boards together, using clamps to maintain even pressure. Attach the top to the base frame, ensuring proper alignment and stability. Install the vises, either bench-mounted or integrated, depending on your preference. Follow the PDF plans meticulously for precise measurements and assembly instructions. Allow the glue to set before sanding and applying a finish. Finally, test the workbench to ensure it meets your woodworking needs. Building a Roubo workbench is a rewarding project that combines traditional craftsmanship with modern functionality.
Assembling the Workbench Components
Start by assembling the base frame, ensuring the legs and stretchers are securely attached using drawbored mortise and tenon joints. Once the base is sturdy, attach the workbench top, aligning it carefully with the frame. Use clamps to hold the top in place while securing it with screws or nails. Next, install the vises, ensuring they are evenly spaced and properly aligned for optimal functionality. Follow the PDF plans to attach any additional features, such as tool trays or storage compartments. Double-check all joints and connections for tightness and stability. Finally, sand all surfaces to smooth out any rough edges before applying a finish. Proper assembly ensures the workbench is both durable and functional, ready to support your woodworking projects for years to come.
Adding Functionality
Enhance your Roubo workbench with practical additions like tool holders, electrical outlets, and storage compartments to boost efficiency and organization in your woodworking projects.
Installing Vises for Enhanced Functionality
Installing vises is a crucial step in maximizing the functionality of your Roubo workbench. Vises provide the necessary grip and stability for various woodworking tasks, ensuring precise control over your workpieces. The Benchcrafted Split Top Roubo workbench plans often recommend using high-quality bench vises, such as the classic leg vise or the more versatile tail vise. These vises are designed to handle heavy-duty tasks and offer exceptional clamping power. When installing, ensure proper alignment and secure mounting to maintain the workbench’s structural integrity. Additionally, consider adding a planing stop to further enhance your bench’s versatility. With the right vise setup, your Roubo workbench becomes a highly efficient tool for both traditional and modern woodworking techniques, catering to furniture makers, hobbyists, and professionals alike.
Incorporating Tool Trays and Storage Solutions
Incorporating tool trays and storage solutions into your Roubo workbench enhances its practicality and efficiency. Adding a tool tray or compartment provides easy access to frequently used tools, such as chisels, hand saws, and marking gauges. Many Roubo workbench plans include designs for built-in storage bins or drawers to keep your workspace organized. Consider adding a sliding tray or a small shelf beneath the work surface for additional storage. These features not only keep your tools within reach but also protect them from damage. Proper storage solutions ensure your workbench remains clutter-free, allowing you to focus on your woodworking projects. By integrating these elements, you can customize your Roubo workbench to meet your specific needs, making it a versatile and functional centerpiece for your workshop.
Finishing Touches
Finishing touches protect the workbench, enhance its appearance, and ensure longevity. Apply a durable finish, wax, or oil to maintain the wood’s integrity and withstand workshop demands.
Applying Finishes to Protect and Enhance the Workbench
Applying finishes is crucial to protect the Roubo workbench from wear and tear while enhancing its aesthetic appeal. Common options include oil, wax, or polyurethane, each offering different levels of protection and maintenance requirements. Oil finishes, such as linseed or tung oil, are easy to apply and maintain, providing a natural look and feel. Wax, often used in combination with oil, adds a protective layer and enhances the wood’s texture. For added durability, polyurethane is a popular choice, though it requires more time to apply and dry. Regardless of the finish chosen, proper surface preparation, such as sanding, is essential for optimal results. Regular maintenance, including reapplying finishes and cleaning, ensures the workbench remains functional and visually appealing for years to come.
Maintenance Tips for Longevity
To ensure your Roubo workbench remains durable and functional, regular maintenance is essential. Start by keeping the surface clean and free from debris, using a soft brush or cloth to remove dust and shavings. Occasionally, apply a thin layer of wax or oil to protect the wood and maintain its finish. Inspect the joints and hardware periodically, tightening any loose bolts or pegs to prevent instability. Avoid exposing the workbench to excessive moisture or direct sunlight, as this can cause warping or discoloration. For tougher stains or spills, use a mild cleaner specifically designed for wood surfaces. Regularly check the vises and other moving parts, lubricating them if necessary to ensure smooth operation. By following these maintenance tips, your Roubo workbench will remain a reliable and lasting tool in your woodworking journey.