Safety Precautions
Always unplug the machine before cleaning or changing needles to avoid accidents. Handle sharp objects like needles and blades with care. Keep children away while operating. Regular maintenance ensures proper function and prevents injury. Follow all safety guidelines provided in the manual to ensure safe and efficient operation.
- Never touch electrical components with wet hands.
- Store the machine in a dry, cool place.
- Avoid distractions while sewing to prevent accidents.
Ensure the sewing area is well-lit and clear of clutter. Supervise children when the machine is in use. Proper precautions will extend the machine’s lifespan and ensure user safety.
1.1. Handling Sharp Objects and Electrical Components
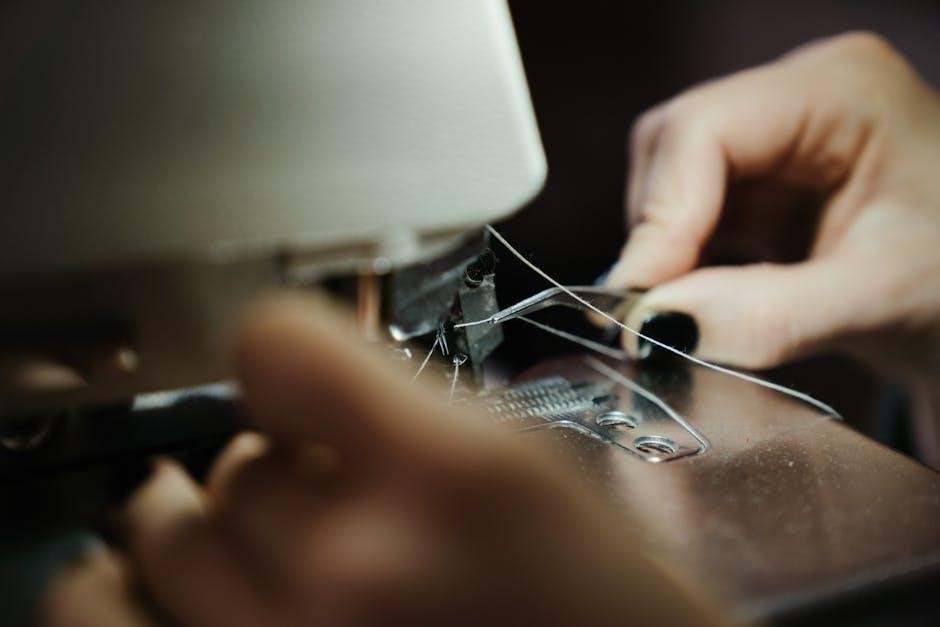
Always handle sharp objects like needles, blades, and rotary cutters with extreme care to avoid injuries. Use needle inserters to avoid direct contact with sharp points. Store sharp objects securely, out of children’s reach. When handling electrical components, ensure the machine is unplugged to prevent shocks. Avoid touching electrical parts with wet hands or while standing on damp surfaces. Regularly inspect power cords for damage and replace them if worn. Never attempt to repair electrical components yourself; consult a professional. Proper handling of these elements ensures safe operation and prolongs the machine’s lifespan.
- Use gloves when handling sharp parts for extra protection.
- Keep electrical components away from heat sources.
1.2. Proper Use and Maintenance to Prevent Injury
Proper use and regular maintenance are crucial to ensure safe operation and prevent injuries. Always follow the manual’s guidelines for threading, tension adjustment, and stitch selection. Lubricate the machine as recommended to avoid mechanical failure. Replace worn or damaged parts promptly, such as needles and belts, to prevent accidents. Clean the machine regularly to remove lint and debris, which can cause jams or malfunctions. Store the machine in a stable, dry environment when not in use. Schedule professional servicing annually to maintain optimal performance and safety. Proper care extends the machine’s lifespan and ensures reliable operation.
- Regularly inspect and replace needles to prevent breakage.
- Use recommended accessories to avoid mechanical stress.

Parts Identification
Familiarize yourself with the bobbin, spool, needles, and tension dials. Locate the free arm function and extension table for versatile sewing options. Understand each component’s role for efficient operation.
2.1. Understanding the Bobbin and Spool
The bobbin and spool are essential for threading the machine. The spool holds the thread, while the bobbin stores the underside thread. Properly winding the bobbin ensures smooth stitching. Always use the correct bobbin size for your machine to prevent thread breakage. The spool pin should be adjusted to fit different spool sizes. Keep the bobbin area clean to avoid jams. Regularly check the bobbin tension for consistent stitching. Incorrect bobbin usage can lead to uneven stitches or machine malfunction. Ensure the bobbin is securely placed in the bobbin case before sewing. Proper bobbin and spool management enhances sewing efficiency and quality.
2.2. Exploring the Free Arm Function
The free arm function allows for easier sewing of cylindrical or hard-to-reach areas like sleeves and pants hems. To use it, simply remove the extension table, revealing the free arm. This feature provides better control and visibility when working on small or intricate projects. The free arm is especially useful for sewing cuffs, collars, and children’s clothing. Always ensure the machine is stable before converting to free arm mode. This function enhances versatility, making it ideal for various sewing tasks. Regularly check the alignment of the free arm to maintain proper stitching. Proper use of the free arm expands your creative possibilities.
- Use the free arm for precise control over curved seams.
- It’s perfect for sewing delicate fabrics and intricate designs.
Consult your manual for diagrams and specific instructions on converting to free arm mode.

Basic Operations
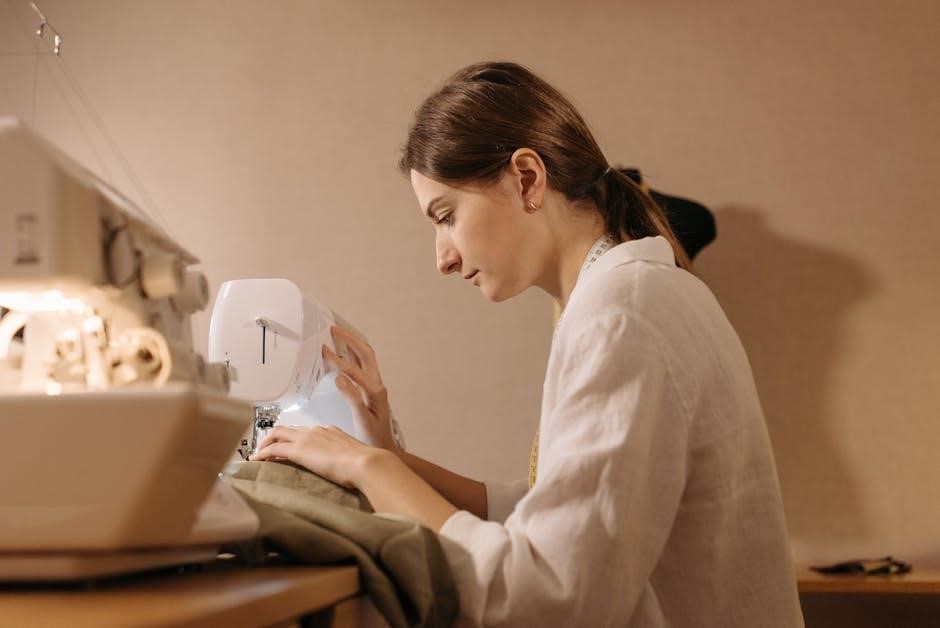
Start by turning on the machine and selecting the desired stitch type. Use the foot pedal to control sewing speed. Always keep fabric steady. Consult the manual for specific operation guidance. Begin with simple projects to familiarize yourself with the machine’s functions. Adjust settings as needed for different fabrics. Properly thread the machine before starting. Keep the work area clean and organized. Regularly check the needle and bobbin for damage. This ensures smooth operation. Practice on scrap fabric to refine your sewing skills. Follow safety guidelines at all times. Keep the machine well-maintained for optimal performance. Experiment with stitch options to expand your sewing capabilities. Enjoy creating with your White sewing machine!
3.1. Threading the Machine
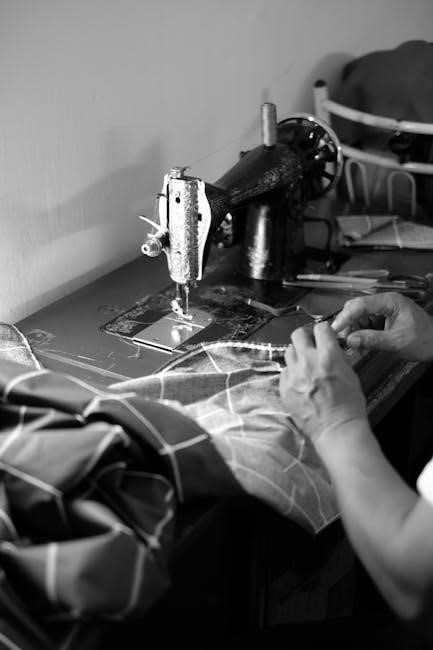
Threading the White sewing machine is essential for smooth operation. Insert the thread through the spool pin and gently guide it through the tension discs. Use the take-up lever to ensure proper thread flow. Pass the thread through the needle from front to back, leaving a small loop. Pull the thread gently to seat it. Always use high-quality thread suitable for your fabric type. Avoid pulling the thread too tightly, as this can misalign the tension. If the thread does not flow smoothly, check for tangles or knots. Proper threading ensures even stitches and prevents machine jamming. Refer to the manual for specific threading diagrams. Keep the thread at room temperature to avoid brittleness. Regularly inspect the thread for wear and replace it if necessary. Threading correctly is key to achieving professional results.
- Never force the thread through the machine.
- Trim excess thread after threading.
- Use the correct thread type for your project.
Threading the machine properly ensures consistent stitching and prolongs the machine’s life. Always thread with the machine turned off for safety. If unsure, consult the manual or a professional. Proper threading is the foundation of successful sewing. Keep the machine clean and well-maintained to ensure thread flows smoothly. By following these steps, you can achieve perfect stitches every time. Happy sewing!
3.2. Setting the Tension
Setting the tension on your White sewing machine is crucial for achieving even stitches. Turn the tension dials to adjust the upper and lower thread tightness. Start with the recommended settings in the manual. Test the tension by sewing on scrap fabric. If the stitches are uneven, tighten or loosen the dials as needed. Proper tension ensures balanced stitching and prevents fabric puckering. Always adjust the tension with the machine turned off for safety. Use the same thread type in the bobbin and spool for consistency. Avoid over-tightening, as this can damage the machine or break the thread. Adjusting the tension correctly ensures professional-looking results.
- Always test tension on scrap fabric first.
- Gently turn the dials to avoid sudden changes.
- Consult the manual for specific tension settings.
Regularly check and adjust the tension, especially when switching fabrics or threads. Proper tension ensures smooth operation and prevents common sewing issues. Adjusting the tension is a simple process that improves the quality of your stitches. Keep the machine well-maintained for optimal performance. Adjust the tension with care to achieve the best results for your sewing projects.
Stitching Options
Your White sewing machine offers various stitch options for diverse sewing needs. Choose from straight, zigzag, and decorative stitches to enhance your projects. Use the stitch selector to pick the desired pattern. Adjust stitch length and width for customization. The machine’s versatility allows you to tackle different fabrics and techniques with ease. Explore the stitching options to expand your creative possibilities and achieve professional results.
4;1. Types of Stitches Available
Your White sewing machine features a variety of stitches to suit different sewing tasks. The straight stitch is ideal for basic sewing and repairing. The zigzag stitch is perfect for stretching fabrics like knits. Decorative stitches add elegance to your projects, while the overlock stitch prevents fraying. Additionally, the machine offers stretch stitches for elastic materials, reverse stitches for securing seams, and utility stitches for everyday use; Each stitch type is designed to handle specific fabrics and applications, ensuring versatility and professional results for both beginners and experienced sewers. Explore the stitch options to enhance your creative projects.
4.2. Selecting the Right Stitch for Your Project
Selecting the right stitch is essential for achieving professional results. For delicate fabrics like silk or cotton, use the straight or precision stitch. Stretch fabrics such as knits require the zigzag or stretch stitch to allow flexibility. Decorative stitches are perfect for embellishing fabrics, while the overlock stitch is ideal for finishing seams to prevent fraying. Heavy-duty fabrics benefit from reinforced or utility stitches. Always consult your manual to match the stitch type with your fabric and project needs. Testing stitches on scrap fabric ensures the best results. Proper stitch selection enhances durability and aesthetics, making your sewing projects stand out.
Maintenance and Care
Regularly clean your machine by removing lint and debris. Lubricate moving parts to ensure smooth operation. Store in a dry, cool place to prevent rust. Follow manual guidelines for routine maintenance to extend lifespan and performance. Schedule professional servicing if issues arise. Proper care ensures optimal functionality and longevity of your sewing machine.
5.1. Cleaning the Machine
Regular cleaning is essential to maintain your sewing machine’s performance. Turn off and unplug the machine before starting. Use a soft brush to remove lint and debris from the bobbin area, tension discs, and stitch plate. Dampen a cloth with distilled water and gently wipe down the exterior, avoiding any openings. For stubborn lint, use compressed air carefully. Never use harsh chemicals or abrasive materials, as they may damage the finish or internal components. Cleaning after each project prevents dust buildup and ensures smooth operation. Refer to your manual for specific cleaning instructions tailored to your machine model.
5.2. Oiling the Machine
Regular oiling is crucial for maintaining your White sewing machine’s smooth operation. Use high-quality sewing machine oil, applied sparingly to moving parts like the hook area and shuttle race. Avoid over-oiling, as excess can attract lint and dust. Turn the handwheel manually to distribute the oil evenly. For models with automatic oiling systems, follow the manual’s specific instructions. Always unplug the machine before oiling to ensure safety. Oiling prevents friction, reduces wear, and keeps the machine running quietly. Refer to your manual for recommended oiling intervals and locations to ensure optimal performance and longevity.
- Use only sewing machine-specific oil.
- Avoid touching internal components with bare hands.
- Wipe away excess oil with a clean cloth.
Troubleshooting Common Issues
Identify and resolve common issues like thread breakage or jamming by referring to the manual. Regular maintenance and proper thread tensioning often prevent these problems. Clean the machine frequently to ensure smooth operation.
- Check for loose threads or debris inside the machine.
- Ensure the needle is correctly installed and aligned.
6.1. Identifying and Resolving Thread Breakage
Thread breakage is a common issue that can disrupt sewing. It often occurs due to incorrect threading, excessive tension, or using low-quality thread. To resolve this, first, check the thread path for any obstructions or tangles. Ensure the thread is properly seated in the tension discs and take-up lever. If the issue persists, rethread the machine following the manual’s guidelines. Always use high-quality thread suitable for your fabric type. Adjust the tension settings as recommended in the manual. Regularly cleaning the machine and lubricating moving parts can also prevent thread breakage. By addressing these factors, you can minimize interruptions and maintain smooth sewing operations.
- Inspect the thread for damage or knots before use.
- Ensure the needle is compatible with the thread and fabric.
6.2. Preventing and Fixing Machine Jamming
Machine jamming can be frustrating but is often preventable. Regular cleaning and oiling of moving parts help maintain smooth operation. Always use the correct needle size and type for your fabric to avoid fabric bunching. If a jam occurs, turn off the machine and carefully remove any tangled thread or debris. Avoid forcing parts, as this can cause further damage. Check for misaligned or loose components, such as the bobbin or presser foot, and ensure they are properly secured. Proper maintenance and adherence to the manual’s guidelines can significantly reduce the risk of jamming and ensure efficient sewing.
- Use high-quality threads and needles to minimize friction.
- Regularly inspect and clean the bobbin area and feed dogs.