Beginning sounds worksheets introduce young learners to recognize the initial sounds of words‚ connecting them to corresponding letters. These engaging tools support early literacy skills and phonics development in kindergarten and preschool‚ offering a fun and structured way to build foundational reading abilities through interactive activities and visual aids.
Recognizing Starting Sounds
Recognizing starting sounds is a fundamental skill in early literacy‚ helping children connect sounds to letters and words. Worksheets designed for kindergarten feature images and letters‚ guiding students to identify the initial sound of each picture; Activities like matching letters to objects or tracing letters enhance phonemic awareness and fine motor skills‚ making learning engaging and effective for young learners.
Phonics and Its Role in Learning
Phonics is a crucial method for teaching reading by linking sounds to letters‚ essential for decoding words. It effectively supports early literacy through structured activities like beginning sounds worksheets.
Connecting Sounds to Letters
Connecting sounds to letters is a foundational skill in early literacy‚ enabling children to recognize and map initial sounds to corresponding letters. Worksheets feature activities like matching letters to pictures or identifying the starting sound of words‚ helping students develop phonemic awareness. Visual aids and hands-on exercises make learning engaging‚ fostering a strong connection between sounds and letters for future reading success.
Importance in Early Reading Skills
Mastering beginning sounds is crucial for early reading skills‚ as it helps children decode words and build phonemic awareness. Recognizing initial sounds enables students to identify words‚ fostering reading fluency and comprehension. This skill also enhances spelling abilities by connecting sounds to letters‚ laying a strong foundation for future literacy development and academic success.
Types of Activities in Worksheets
Worksheets feature diverse activities like matching games‚ letter tracing‚ and sound association tasks‚ enhancing phonics skills and engaging young learners effectively always.
Matching Letters to Pictures
Matching letters to pictures is a core activity in beginning sounds worksheets‚ helping children connect initial sounds with corresponding letters. For example‚ matching the letter “B” to a picture of a ball reinforces phonics skills and letter recognition. This interactive approach engages young learners‚ making it easier to identify and remember starting sounds‚ while building a strong foundation for early reading abilities in a fun and visual way.
Cut and Paste Exercises
Cut and paste exercises are interactive activities in beginning sounds worksheets that enhance fine motor skills and phonics awareness. Children cut out letters or pictures and paste them next to corresponding starting sounds‚ fostering recognition and memory. These hands-on tasks make learning engaging and fun‚ while also reinforcing the connection between sounds and letters‚ preparing young learners for more complex reading skills in a playful manner.
Tracing Letters for Fine Motor Skills
Tracing letters is a fundamental activity in beginning sounds worksheets that helps kindergarten students develop fine motor skills. By tracing letters‚ children improve hand-eye coordination and dexterity‚ essential for writing. These exercises often accompany pictures‚ allowing kids to connect sounds with letters visually. Tracing also reinforces letter recognition‚ making it easier for young learners to grasp the relationship between sounds and symbols‚ laying a strong foundation for reading and writing skills. This interactive approach ensures learning is both fun and effective‚ catering to the developmental needs of preschool and kindergarten students by combining motor practice with phonics awareness. The repetitive motion of tracing helps build muscle memory‚ which is crucial for writing proficiency in early education. Additionally‚ tracing activities are usually simple and clear‚ making them accessible for all learners‚ regardless of their skill level. The combination of tracing and beginning sounds introduces children to the basics of literacy in an engaging and structured manner‚ ensuring they are well-prepared for more advanced reading and writing tasks as they progress in their educational journey.

Benefits of Beginning Sounds Worksheets
Beginning sounds worksheets enhance reading skills by helping children recognize and connect sounds to letters‚ while also improving fine motor control through tracing and writing activities.
Enhancing Reading Skills
Beginning sounds worksheets play a vital role in enhancing reading skills by helping children recognize and connect initial sounds to letters. These activities enable young learners to build phonemic awareness‚ identify word patterns‚ and develop decoding abilities. By practicing sound-letter associations‚ students gain confidence in reading aloud and understanding text. This foundational skill supports early literacy development‚ making reading more accessible and enjoyable for kindergarten students.
Developing Fine Motor Control
Beginning sounds worksheets often include tracing‚ cutting‚ and pasting activities that enhance fine motor skills. Tracing letters helps improve handwriting‚ while cut-and-paste exercises refine dexterity and hand-eye coordination. These tasks are designed to strengthen young learners’ physical abilities‚ preparing them for writing and manipulating small objects. Fine motor control is essential for academic success‚ making these worksheets a valuable tool for kindergarten development.
Age Appropriateness
Beginning sounds worksheets are specifically designed for preschool and kindergarten students‚ aligning with their developmental needs. These activities introduce foundational literacy skills through engaging‚ age-appropriate tasks‚ ensuring young learners are challenged yet supported in their early educational journey.
Suitable for Preschool and Kindergarten
Suitable for Preschool and Kindergarten
Beginning sounds worksheets are ideal for young learners‚ helping them connect sounds to letters and develop phonemic awareness. These activities are engaging and age-appropriate‚ supporting early literacy and phonics skills. With colorful visuals and hands-on tasks‚ they cater to preschool and kindergarten students‚ fostering a love for learning. Worksheets are designed to be printed on A4 paper‚ making them easy to use at home or in the classroom. Simple activities like matching letters to pictures or identifying starting sounds help build foundational reading abilities. Free PDF downloads ensure accessibility for educators and parents seeking to support their children’s learning journey.
Tailored Activities for Young Learners
Tailored Activities for Young Learners
Beginning sounds worksheets offer tailored activities designed to engage young learners through interactive and hands-on exercises. These include matching letters to pictures‚ identifying starting sounds‚ and tracing letters to enhance fine motor skills. Colorful visuals and simple tasks make learning fun and accessible for preschool and kindergarten students. Activities are structured to promote phonemic awareness and early reading skills while catering to the developmental pace of young children. These worksheets provide a playful yet educational approach to mastering beginning sounds‚ ensuring a strong foundation for literacy development. They are adaptable to various learning styles‚ making them ideal for both classroom and home use.
Accessing Worksheets
Beginning sounds worksheets are easily accessible online as downloadable PDFs or printable versions. Many websites offer free resources‚ allowing educators and parents to conveniently download and print them for immediate use.
Downloading PDFs
Downloading PDFs of beginning sounds worksheets is a convenient option for educators and parents. Many websites offer free‚ high-quality PDFs that can be easily downloaded and printed. These files ensure crisp images and clear instructions‚ making them ideal for classroom or homeschool use. Printing tips often suggest using the “shrink to fit” option to maintain clarity and proper formatting for young learners.
Printing Tips for Clarity
For optimal results‚ print beginning sounds worksheets on A4 paper using the “shrink to fit” option to ensure all content is visible. Adjust printer settings to high quality to maintain crisp images and clear lettering. Use vibrant colors to engage young learners and consider using cardstock for durability. Ensure proper alignment and margins to avoid cut-off text or images‚ making the worksheets visually appealing and easy to use.
Meeting Educational Standards
Beginning sounds worksheets align with educational standards like CCSS.ELA-LITERACY.RF.K.2.D‚ focusing on isolating and pronouncing initial sounds in words‚ fostering foundational phonemic awareness and early literacy skills effectively.
CCSS.ELA-LITERACY.RF.K.2.D
This standard requires students to isolate and pronounce the initial‚ medial vowel‚ and final sounds in CVC words. Beginning sounds worksheets support this by focusing on identifying and writing the starting letter of words‚ fostering phonemic awareness and early literacy skills. Activities like matching letters to pictures or tracing letters help kindergarten students master this foundational skill‚ aligning with curriculum goals and enhancing their ability to decode words effectively.
Aligning Worksheets with Curriculum
Aligning Worksheets with Curriculum
Beginning sounds worksheets are designed to align with kindergarten curriculum standards‚ ensuring they support educational goals effectively. By focusing on activities like matching letters to pictures and identifying initial sounds‚ these worksheets help students meet learning objectives. They promote phonemic awareness and literacy development‚ making them invaluable tools for educators aiming to foster foundational reading skills in young learners.
Engaging Children with Fun Activities
Engaging children with fun activities‚ beginning sounds worksheets use colorful visuals and hands-on tasks to make learning interactive and enjoyable‚ connecting sounds to letters effectively.
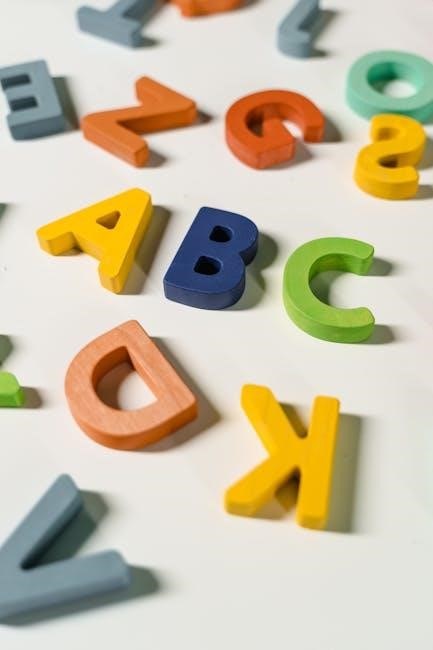
Colorful Visuals
Colorful visuals in beginning sounds worksheets captivate young learners‚ making activities appealing and engaging. Vibrant illustrations of objects‚ animals‚ and familiar items help children connect sounds to letters effortlessly. These visually stimulating exercises‚ often featuring pictures like balls or cats‚ enhance focus and motivation‚ ensuring that learning remains both enjoyable and effective for kindergarten students.
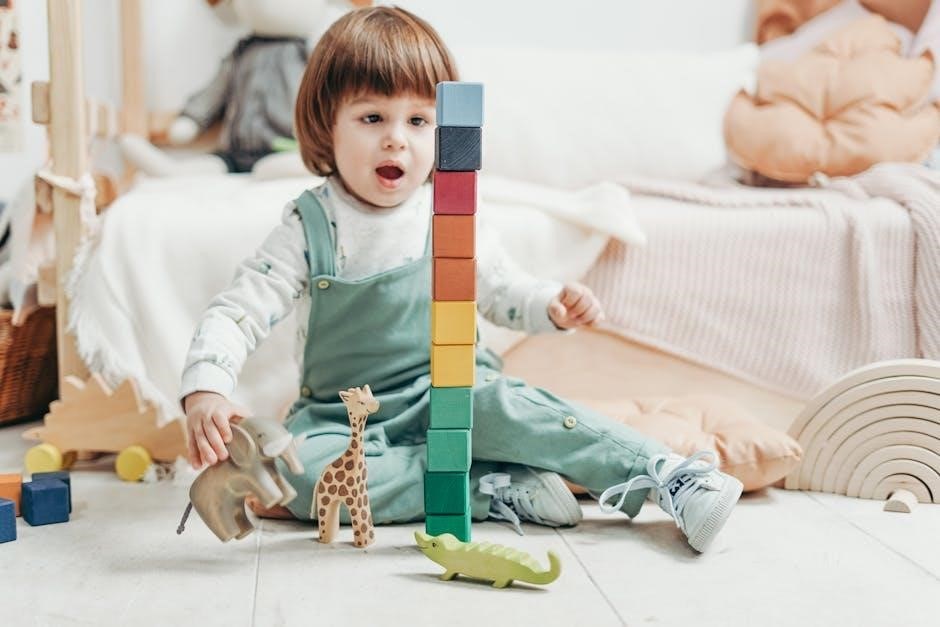
Hands-On Learning
Hands-On Learning
Hands-On Learning activities‚ such as tracing letters and interactive games‚ engage young learners in practical phonics exercises. These exercises‚ including sound sorting and matching games‚ enhance fine motor skills and letter recognition. By actively participating‚ children develop a strong foundation in phonics‚ crucial for early reading success. This approach ensures learning is both enjoyable and effective for kindergarten students.

Phonemic Awareness Development
Phonemic awareness development involves recognizing and manipulating individual sounds in words. Beginning sounds worksheets help kindergarten students identify initial phonemes‚ building a strong foundation for reading and decoding skills.
Understanding Phonemes
Understanding phonemes involves recognizing individual sounds within words. Phonemes are the smallest units of sound that distinguish one word from another. Beginning sounds worksheets help kindergarten students identify and isolate these initial sounds‚ fostering phonemic awareness. This skill is essential for decoding words and laying a strong foundation for reading and spelling abilities. Worksheets often feature pictures and letters‚ guiding children to connect sounds with symbols‚ enhancing their ability to manipulate and recognize phonemes effectively.
Foundational Skill for Literacy
Foundational Skill for Literacy
Phonemic awareness‚ particularly recognizing beginning sounds‚ is a foundational skill for early literacy. It enables children to understand the relationship between sounds and letters‚ a crucial step in decoding words. Beginning sounds worksheets provide structured practice‚ helping kindergarten students develop this skill through engaging activities like matching letters to pictures or tracing. These exercises build confidence and create a strong base for future reading and spelling abilities.
Free Resource Availability
Free beginning sounds worksheets for kindergarten are widely available online in PDF format. Popular websites offer downloadable resources‚ ensuring easy access for teachers and parents to support early learning.
Popular Websites for Worksheets
Several websites offer free beginning sounds worksheets for kindergarten in PDF format. Kindergarten Worksheets and Worksheets Pack provide a variety of activities. These platforms offer downloadable resources‚ such as matching games‚ cut-and-paste exercises‚ and tracing sheets. They cater to preschool and kindergarten educators‚ ensuring accessible tools for early literacy development. Parents and teachers can easily print these worksheets for classroom or homeschool use.
Technology Integration
Online platforms and educational apps now offer interactive beginning sounds worksheets‚ making learning accessible and engaging for kindergarten students through digital tools and activities.
Online Worksheet Options
Online beginning sounds worksheets offer interactive learning experiences for kindergarten students. These digital tools provide engaging activities‚ such as matching games and sound recognition exercises‚ accessible via tablets or computers. Many websites allow direct access to phonics worksheets‚ enabling children to practice letter-sound associations dynamically. This approach enhances traditional methods‚ making learning fun and adaptable for modern learners while maintaining educational effectiveness.
Interactive Learning Benefits
Interactive beginning sounds worksheets enhance engagement and retention for kindergarten students. Digital tools offer hands-on activities like matching games and sound recognition exercises‚ making learning enjoyable. Immediate feedback and tailored pacing support individual needs‚ fostering confidence and a strong foundation in phonics. These dynamic resources captivate young learners‚ promoting active participation and deeper understanding of initial sounds in a fun and immersive way.
Creative Learning Beyond Worksheets
Creative learning extends beyond worksheets with DIY phonics tools and interactive sound games. Hands-on activities like phonics phones and picture matching enhance phonemic awareness‚ making learning fun and engaging for young children while building foundational literacy skills.
DIY Phonics Tools
DIY Phonics Tools
DIY phonics tools‚ such as phonics phones made from PVC pipes‚ help children hear and amplify their own voices while practicing sounds. Homemade letter cards and word-building activities engage young learners‚ fostering phonemic awareness. Parents and educators can create interactive sound bottles filled with objects representing specific sounds‚ encouraging hands-on learning and letter-sound recognition in a playful and creative environment.
Interactive Sound Games
Interactive Sound Games
Interactive sound games‚ such as matching activities and phonics phones‚ enhance phonics learning by engaging children in hands-on experiences. Sound-matching games‚ where children identify beginning sounds‚ and gumball sorting activities‚ where they “pop” correct sounds‚ foster phonemic awareness. These playful tools‚ often used alongside worksheets‚ make learning letter-sound connections enjoyable and effective‚ encouraging active participation and reinforcing foundational reading skills in a dynamic way.
Beginning sounds worksheets are a valuable tool for teaching phonics and early reading skills‚ offering engaging activities that help kindergarten students build a strong foundation for literacy.
Summarizing the Importance
Beginning sounds worksheets are essential for developing foundational literacy skills in kindergarten students. They introduce phonemic awareness‚ helping children connect sounds to letters and understand word structure. These tools enhance reading readiness‚ improve fine motor skills through tracing‚ and provide engaging activities that cater to different learning styles. By aligning with educational standards like CCSS.ELA-LITERACY.RF.K.2.D‚ they ensure a strong starting point for lifelong learning.
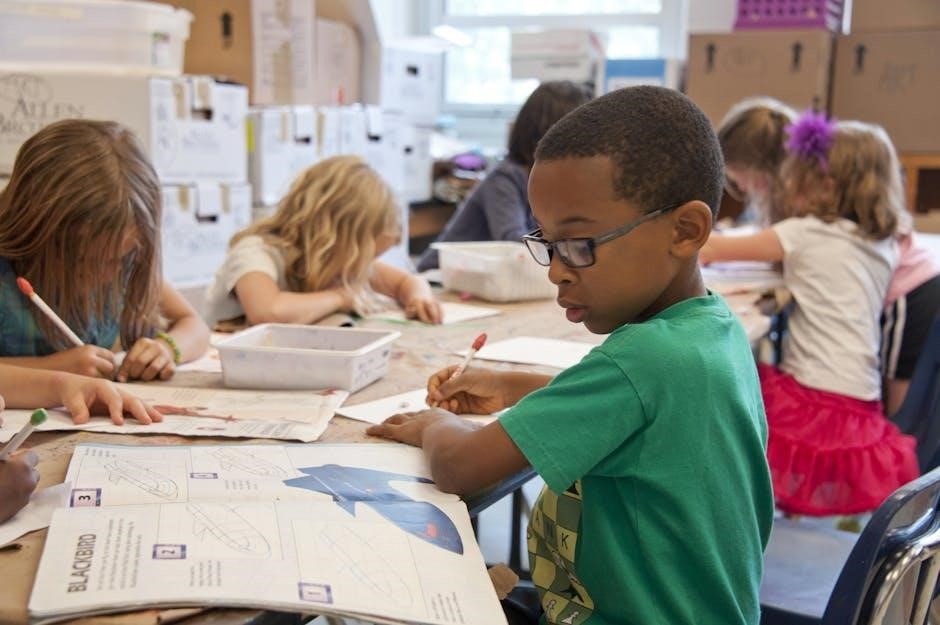
Encouraging Early Literacy
Encouraging Early Literacy
Beginning sounds worksheets play a vital role in fostering early literacy by making learning engaging and interactive. They introduce children to sound-letter connections through fun activities like matching letters to pictures or identifying initial sounds. These tools are designed to be both educational and enjoyable‚ helping young learners build confidence and develop a love for reading while laying the groundwork for future academic success.